|
| It's almost spring! |
When I saw the
tutorial for a basket tote Caroline at
Sew Can She made in February, I immediately decided I would make an Easter basket from the pattern. I really like the shape of this tote, and the construction seemed pretty straight forward.
 |
| Front view. |
 |
| Back view. |
I went all out, making an embroidered center panel, and hand pieced side panels. I printed the pattern slightly smaller than the original, simply because I was too lazy to figure out how to print the pieces at 100%. So I simply did "fit to page" and went from there. I did have to trim some of my side panels tops off to make the thing fit, but the shape came out just fine in the end. My basket is 8 inches high in the middle.
 |
| Pretty cute... |
For the embroidered panel I chose a pattern from
doe-c-doe. I purposely chose something cute and fit for spring, but not something that screams Easter, like bunnies or Easter eggs. That way the basket is not too seasonal, just all year round cute. I used stem stitch on all the lines, with a variegated thread in light blue for the kitten.
 |
| Isn't she sweet? |
 |
| Even cuter with a duck and daffodils in the mix. |
For the side panels I English paper pieced a bunch of 1" hexies in a pleasing combination of fabrics. I actually used leftovers from my Splendid Sampler Quilt (see previous posts). I'm glad to say that even after a year of sewing with these fabrics I still haven't tired of them.
 |
| Thanks to the Splendid Sampler I found out I really like EPP. |
 |
| I just have to show the other side panel, too! |
 |
| I did simple straight line quilting (no walking foot). |
 |
| I think the colors are lovely and give a positive spring feeling! |
All panels were then stiffened using a layer of fusible batting first, then machine quilting and then adding some stiff fusible stuff that I don't know the name of. It's something fibrous but not woven. I've no idea what its intended purpose is. I just picked it in the Veritas because it felt like it might do the job. And it did!
 |
| The basket is sturdy enough to stand by itself. |
 |
| It opens up like this, with lots of room for Easter eggs! |
 |
| And snapped shut, it still stands proud! |
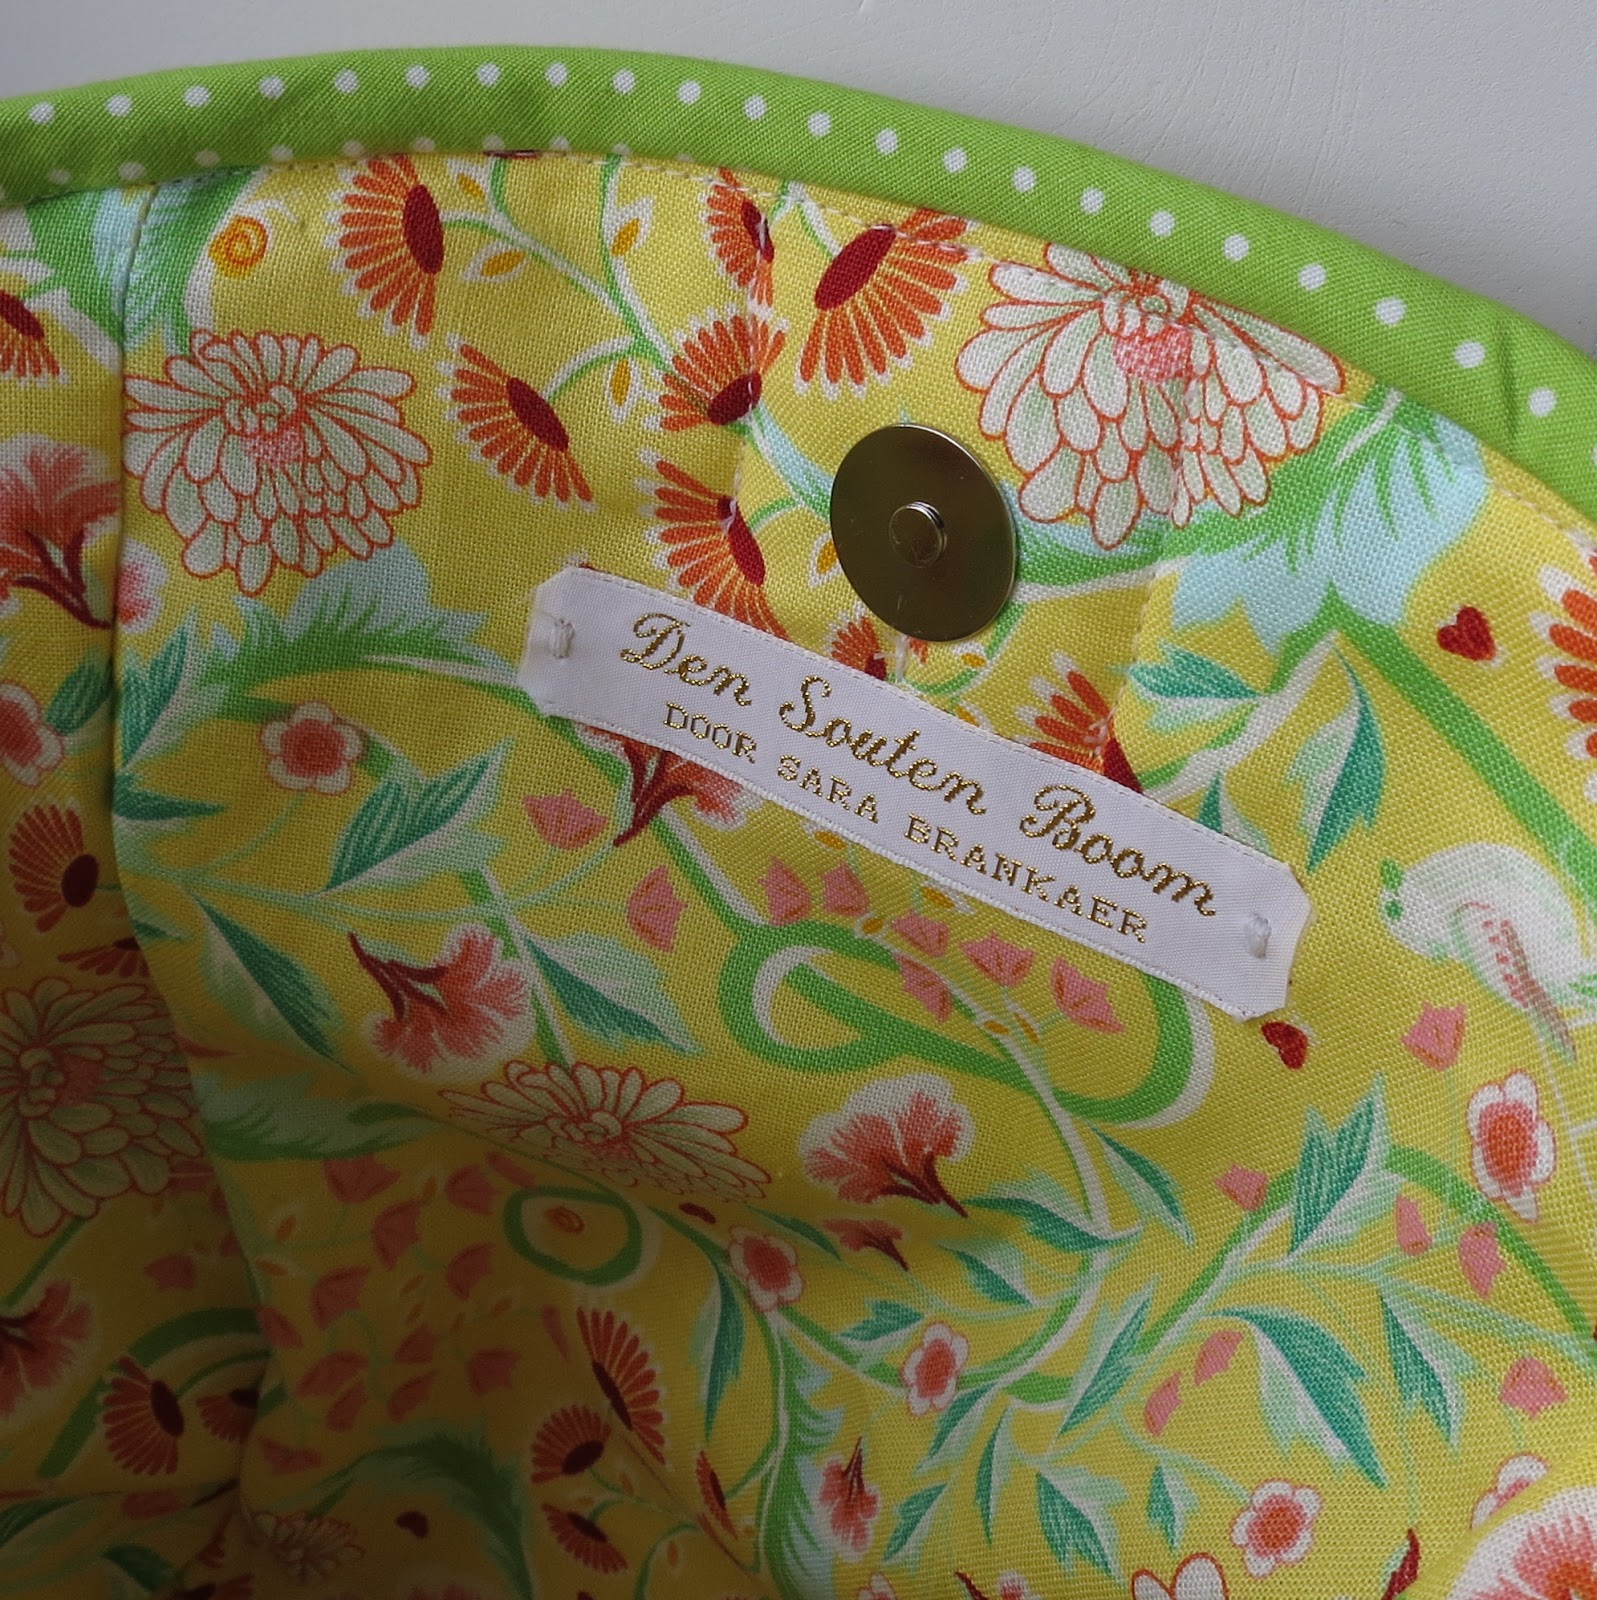
Joining the panels was a real struggle, but I managed in the end. I like the structure of the stiff panels, but I might try a basket with just fusible batting, and see how that works. I added a magnetic snap and I think that is the only thing I'm not 100% happy with, apart from the handles. Two things went wrong with the snap. First of all, I put it in quite low on the lining, for fear of not being able to add the bias trim because of the snap getting in the way. So it distorts the shape of the basket a little when closed. Also because I didn't manage to line them up perfectly, which probably goes back to not working to scale and being sloppy with the seam allowances... . Secondly, the snap is really strong. You have to pull quite hard to open it. But it's only attached to the lining, and the lining is only attached to the bag at the top, with the bias binding. So when I tried to open it, it felt like I might tear the snap out of the lining. I did strengthen the lining as per instructions, so it should be fine. Or I might tear the lining out of the bag, a more likely scenario, it is just quilting cotton, I wouldn't have been surprised if after just a few minutes in the hands of my kids, they would have torn the lining. So I strengthened the whole thing by quilting right through al the layers around the snap. Now it feels sturdier.
 |
| The snaps look really professional. |
 |
| See the messy hand quilting around the snap, to hold it firmer in place? |
 |
| You can see how the top doesn't quite line up... |
 |
| ... and how the front is distorted by the snap. |
 |
| But all in all, I'm very pleased, with the shape and the colors |
Making the handles was not hard, with the tutorial provided. I made my fabric strips a bit wider and added a cotton core in the handle. I am pleased with the result. I'm not so pleased with the messy top stitching with which they are attached. That was the result of the stiffness of the bag, and the fact that it is smaller than the pattern. Next time, I'll try attaching the handles before constructing the bag. The reason I didn't do that this time is that 1. I followed instructions on this point and 2. I thought it would be better to decide the position of the handles once the bag was constructed.
 |
| I just tell myself the cuteness of the kitty distracts from the messy top stitching :-). |
All in all I'm very pleased with my project, it makes a nice addition to my Easter decor.
 |
| My Easter window sill. |
 |
| Purr-fect! |